I can’t believe it! I have made another blanket! I’m really on a roll at the moment, and thoroughly enjoying myself.
This time I used the disappearing nine patch block for the main part of the quilt and then added a border and binding. The material is a Riley Blake fabric and is very pretty and bright. I’m not actually sure if I will give the blanket away or keep it for myself to enjoy. I have never made one for myself as I usually have a person in mind, or a reason for making the blanket before I start.
Here are the instructions…
I chose nine different fabrics with the ‘busy’ fabrics placed in each corner. These are the squares that remain whole and I wanted the pattern to be complete. I wished I had replaced the left middle fabric with one that was more of a plain fabric, but as it matched perfectly, I thought it would be okay 🙂Firstly sew the rows and press the seams in opposite directions. This helps them fit together nicely and the sewn lines to join up when you sew the rows together.The nine squares have now been sewn together and pressed. Can you see how the seams fit together nicely. That is the aim, so when you top stitch at the end, the lines are straight 🙂This is the exciting stage. The nine squares are now cut directly in the middle in both directions as shown.The cut ‘new’ squares can now be placed together again. You can put them in any direction as you like. Try them all out to see what you like best before you start to sew them together again.I chose to have the two little yellow squares opposite each other in the middle and the other two at the far corners.I have placed all the fabric pieces together to get an idea of the finished pattern. I liked this layout so next stage is to sew them together. I sew each row, and then join the rows up. Making sure to press the seams after sewing. The rows have the seams ironed laying opposite directions. This is to help the joins to fit together nicely when you sew the rows together (as I did with the first nine squares)All sewn together and pressed. I’m loving these bright colours!A bigger photo so you can see the overall pattern. Here is where I realised that the red pattern square, that I chose to be cut up, was still a bit too bold. It has blended into the main red square too much and made them both a little too busy. Never mind. I won’t do that again!I decided to make my border the same width as the squares that I started with in the beginning.I have fast tracked the project. If you want to see how to put the wadding and backing material onto the patchwork piece, you can look at my previous blog post. I did do one thing different this time though. As it was a larger blanket, I used fabric spray on glue to help hold the materials together. It washes out and causes no long term damage to the blanket, but it certainly makes life a whole lot easier when it comes to the top stitching 🙂And here is the finished blanket with a cute little narrow yellow binding. I used the ‘Stitch in the ditch’ method of top stitching. This is when you sew right on top of the seam. The stitch line just disappears down into the stitched seam, but makes the blanket hold together firmly. On the back the stitching looks like a big graph and is neat and tidy! This blanket is a 1 and 3/4 meter square one. Plenty big enough to cuddle under 🙂And with the little pieces of fabric that I had left over I made a pillow to match! I’m rather proud of how they both turned out. The pillow was just little strips sewn together and the red used as a filler to make them square 🙂The fabric that was left over from the two blankets I wrote about in my previous blog post, made two lovely pillows. The one on the left I used the same process as the blankets, but the one on the right is another design which I will demonstrate in another blog post. It is really easy and looks great!
Now you can try out the disappearing nine patch block on your own blanket. I suggest you make a little babies blanket first so you can practice before commencing a larger one. It really isn’t hard and looks great when finished. It’s one of the first block patterns that I tried, and I have been really happy with the finished blankets. If you look up patchwork in the categories, you can see my previous quilts and blankets. See if you can find the other disappearing nine patch ones 🙂
I have been back home now for nearly a month, and I’m loving it!
It’s funny how you never really appreciate something until you have to do without it for awhile. The saying goes ‘Absence makes the heart grow fonder’, and although this saying is describing relationships, I also believe it covers things like homes, or familiar places, or towns. If you have been reading my blog over the past six months, you will remember that I left New Zealand on the 15th of August last year and didn’t return again until the 12th of January this year. That is nearly five months away from my country and home town of New Plymouth. Actually we live just out of New Plymouth at a small town called Waitara, but New Plymouth is just a short 15-20 minute drive away and is our nearest city, and yes, I love it!
Walking back into my home, I fell in love with it all over again. Yes it is old, and still has a lot of work needing to be done on it, but it is very comfortable, welcoming, peaceful, and spacious. It is our 16 year old renovation project that will probably never get finished, but it has served us well! It has been a family home to 5 of our 6 children and all the extras that they have brought here over the years. We have had many friends and visitors pop in to see us and maybe stay a day or more and I trust that they have felt the welcome, not only from us, but by the atmosphere that this house helps to create.
Look at this amazing view! This is what I see from my dining room table when the Wisteria is in flower.Looking across our deck towards the lounge French doors. The Wisteria is beautiful but does take a bit to keep under control.
I have been thinking about why I am so happy to be home. Yes I do love my house and it’s in a great location in the country and yet handy enough to get to town within 20 minutes, so that is part of the reason. But I think it’s the fact that New Plymouth is such a fabulous city. We have everything here from a Mountain to the sea, and plenty of parks inbetween, as well as the fact that it is a great shopping city.
Let’s start with the view I see from my own front yard!
This is the view from my front deck. If you look through the tree you can see our Mountain!And this is the view of the Mountain from just across the road from our house.
If I drive south for 20 minutes I would come to the small town of Inglewood. About 15 minutes away from my house heading towards Inglewood, I get this amazing view!
Our wonderful Mount Taranaki. I never tire of this view.
And every winter I try to get up the mountain to the snow at least once. It’s such fun to have our Mountain so close and to have the ability to drive up right to the snow.
A photo from our trip up the mountain last winter (2014)
And after a play in the snow and you are feeling a little hungry, a stop at Volcano View Café is great for food and play. With flying foxes available for use, and BIG carts to ride. The kids (and big kids) love it 🙂
One of the two Flying Foxes at Volcano ViewThere’s a selection of Carts to ride 🙂
Leaving Volcano View and heading towards New Plymouth and the next place to stop would be at Lake Mangamahoe. This lake supplies New Plymouth with it’s water. It is very picturesque and also a great lake for hiking around. When you get there, you will find that you can get a great photo with the mountain in the background.
Lake Mangamahoe and Mount TaranakiAnother beautiful photo of Lake Mangamahoe with our amazing mountain in the background 🙂
Next place towards New Plymouth is the ‘Meeting of the waters’. Here you can go for a walk to the river, swim, or take some rafts and get out on the river. It’s also a great place for a picnic, a walk or just for relaxation.
Take the family, the rafts and have some fun together at the ‘Meeting of the waters’ 🙂There are plenty of places to have a picnic surrounded by lovely scenery
We have the most amazing park right in the centre of New Plymouth that is very popular and well worth a visit. There are many magnificent trees and gardens all over the park, along with a Fernery house to wander through. There is also a playground for the children that has recently been updated with new playground equipment, and the children love it.
The flying fox at the Park playground
There are two big lakes. One with a fountain and the other you can hire row boats and take the family or friends for a row. If you would rather have coffee or lunch than get out on a boat, then you can go to the Tea Rooms. There you can sit and relax and also have a lovely view of the lake.
The main lake at Pukekura Park and looking at Poets Bridge. Just above the bridge you can see the Mountain. A very popular photograph to take 🙂And here’s Robin taking us out for a row on the lake
The waterfall at the park looks great during the ‘Festival of Lights’ Christmas Season. The whole park is lit up over that time and is known about New Zealand wide. It is spectacular! There are also stages set up over the season and for a super evening, you can take a blanket, invite friends along and spend the evening relaxing and listening to the various performers on stage.
The lights on the bottom lakeThe top lake and poets bridge.Another photo of the lights at the top Lake in Pukekura Park.This is the grand childrens favourite part of the Festival of Lights. The ultraviolet lights 🙂 We all try to wear something white!
Walking through the park, you will end up at the “Bowl of Brooklands’. It is an amazing outdoor sound shell where we often have performers to entertain. There is nothing more special to sit on the hills with wonderful company, and listen to a well known band or watch a production/show. The Christmas at the bowl held each year is very popular and finishes off with a huge fireworks show.
This is the view from the stage! Imagine performing on this stage with a crowd seated all around in the grassy hills. Now imagine it at night with everyone holding candles. It looks amazing and has a great atmosphere!
And just up the hill from the Bowl of Brooklands is our very own zoo. Sorry but the most exotic animal are the monkeys, but it’s still a great zoo. It has a fantastic playground and is very good for young children. With gates and both ends, young Mums can relax while the children have fun in a safe environment. There are some elephants there but only the type seen in the next photo 😉
The three grand children with the elephants at Brooklands Zoo.
We have a famous garden just west of New Plymouth in the mountain range called The Pukeiti Rhododendron Gardens. Every year we have the Rhododendron Festival and it happens during the flowering season of the trees. Hundreds of tourists come into New Plymouth to visit the gardens and Pukeiti is extremely popular.
On your way to Pukeiti, call in for a stop over at Puakai Animal Farm. The children love it, especially seeing the white tiger. And look at that mountain view and the mountain ranges!Wandering through the grounds at Pukeiti Gardens – Not at flower time unfortunately
After visiting Pukeiti, it’s just a ‘short’ drive downhill towards the sea and you arrive at Oakura. The best place to go for the New Years day beach carnival. Nearby is the river that is a favourite for swimming, games and BBQ teas.
The grandsons are enjoying the river on a lovely summers day.
You can carry on driving towards New Plymouth and visit Back Beach. Its a bit of a climb down and more of a climb back up but the beach is great, and at low tide you can walk over to one of the sugar loaf islands. But make sure you get back to the mainland before the tide turns. You can get caught out very quickly and end up stuck on the island!
Right next to Back Beach is Paritutu Rock. And it’s a huge rock! I have climbed it about three times (I don’t like heights!). Robin was very game and took the grandsons to the top!
Yes, it’s not a climb for the fainthearted! But well worth the effort 🙂At the top with the view towards New Plymouth and the coast North.The wonderful view from the top of the coastline towards Oakura.
Once you get to Paritutu, you are nearly at Port Taranaki. It’s just down the road and good for a look, and then play on the black sand, or swim at Ngamotu Beach. Follow the coastal road and you come to three of our lovely well visited cafes! All with seaside views!
The boys love the breakwater. Plenty of rocks to climb and usually a fisherman or two to see the fish they catch 🙂
After a lovely stroll along the breakwater, you can find the start of our fabulous New Plymouth walkway! It is 12.7 Kms long and every step is worth the walk. There are magnificent views along the whole pathway. For all the information on the walkway please copy and paste the NPDC link below.
Robin and I with our bikes at the breakwater ready to bike along the walkway/bikeway 🙂The start of the walkway from the breakwater end 🙂One of the amazing views along the way. This one is just before you get to Kawaroa ParkThese are the rock pools at Kawaroa. The kids love to look to see if they can find crabs or starfish.This photo is getting closer to the centre of town. You can see our windwand which has become a landmark icon in New PlymouthAnd looking back towards the Port, the Chimney, Paritutu Rock and the Sugar Loaf IslandsThis is the best spot to stop and reflect on our beautiful city, the joy of the walkway and the wonderful view of the Pacific Ocean. Love New Zealand, Love New Plymouth and I love my daughter 🙂Look at the view! The walkway changes from concrete to wood at various places!You can take the path up to a car park and town or carry on towards East End Beach.This photo is taken between East End Beach and the Wind Wand walking the other directionSitting and relaxing and enjoying the view! Just what you do when on the walkway!Playing at East End Beach and the rock pools at low tide.At East End you can veer off on the Te Henui walkway. You cross over the river and walk under the main road and further along behind houses and through parks to a total of 5.9 Kms.More very picturesque moments on the Te Henui walkway 🙂Back on the Coastal Walkway and moving along to Fitzroy Beach. A great spot for swimming and playing in the black iron sand 🙂 See Paritutu, the Chimney and the Sugar Loaf Islands in the background!Look at our great Iron Sand. But be aware it gets very hot when it is dry and in the sunshineNext best place is the Waiwakaiho River mouth. A great spot for fishing!The river doesn’t mean the walkway must stop. New Plymouth has built the wonderful Te Rewa Rewa bridge. This bridge has been the object of many many photos, especially as it can be used to frame Mount Taranaki if you position your camera correctly, and the Mountain isn’t hiding behind clouds!We haven’t framed the Mountain in this photo, but the bridge still looks magnificent!Keep riding or walking the walkway and look back and this is the view of the place we started, Port Taranaki, way in the distance. And, you can still keep walking right to Tiromoana Crescent at the end of Wills Road!
Now don’t you think that the next challenge you should give yourself is to either walk the length of the Coastal Walkway or ride your bike the distance. If you don’t have a bike you can always hire one from the people that hire them out near the café between East End and Fitzroy Beaches.
One day the Coastal Walkway will eventually reach to Waitara. From our place we can already ride our bikes along Brown Road and cross the walkway bridge at the Waiongana Stream, keep riding and end up at the back of the airport.
Waiongana BridgeGrandsons throwing stones into the Waiongana Stream. It’s actually more like a river!
I haven’t finished showing off about our wonderful Coastline and beaches and favourite places to go yet! If you keep travelling north and head off to Waitara, there is another river mouth with another great Beach. The Waitara one!
Grandson playing down at the Waitara Beach on a windy day. Look at all the driftwood!While in Waitara it’s a great opportunity to go for a train trip to the Waitara Road Station and back with the Waitara Railway enthusiasts.The children love it and with the stop for refreshments, the adults do too 🙂
If you still want to see more beaches you can venture further North to Onaero River mouth and Beach, or even further and go to the Urenui River and Beach. We’ve had many a BBQ tea and swim in the Urenui River. The mud flats on the town side of the river are a great attraction for the children, not so much for the Mums trying to get the clothes/swimwear back to their normal colour, I’m afraid!
The Grandsons enjoying the Urenui river.
So there you are! There’s still heaps more to see in our wonderful city and actually the whole province of Taranaki. So next time you go on holiday, don’t forget about New Plymouth, and you can visit the places I have shown and also discover some more places for yourself.
Robin and I have just joined www.airbnb.com as a host family. We’ve already met some super people from other countries. We love being able to share our big home and have some company, but what we love the most is having the opportunity of sharing our wonderful city of New Plymouth with them.
Now can you see why I said I am really enjoying being back home 🙂
It’s 7:45 and I’m still in bed, but definitely not sleeping or relaxing. I’m thinking about the thousand things I still need to do today. I need to get up! But, I do have a list! I love being able to tick off jobs as they are completed and then knowing I am fully prepared for our holiday…. Hopefully!
Mostly I am excited! Eeeee! I have just finished checking Facebook and Snapchat, and have seen photos of my family and their travel shots as they make their way to Poland. C1, C2 and G3 are driving from London to Leszno and they crossed from the Uk to France via the Euro tunnel early this morning. And they are now in Germany!
Looking very excited! G3 and her Dad C1 🙂
Visiting ‘The Shard’ in London
Waiting to board the train at the Euro tunnel.
On the train!!!
A stop for refreshments in Brussels 🙂
And now they are in Cologne Germany!
Meanwhile C4 and D3 have arrived in London and are staying on for a few days while C4 has some work to do. They fly to Poland later in the week.
Don’t they look very relaxed! Lovely 🙂
Now, I have to wash my sheets and remake the bed! Clean the whole house including the bathroom! Print out travel documents! Phone Visa! Fold heaps of washing! Pack my bag! Prepare a meal for us and my two Aunties for tonight! And… The list goes on!
I really wanted to finish my crochet blanket before I left but will have to leave it at this stage until I come back home in January!
Another wet day in the Naki! And another day to entertain the grandsons indoors. I taught grandaughter G3 how to make a Pom Pom the last time I was in Sydney, so thought that it was the perfect opportunity to teach the boys as well.
Pom Poms are really easy to make and are a great way of using up all your old balls of wool. Especially if you only have one ball left of a colour, or a batch, or there isn’t enough to make a whole garment.
If you’ve never made a Pom Pom before, here are the instructions…
Cut out two circles of cardboard with another circle cut out of the centre
Put the two circles together and start winding the wool around and around.
Keep adding more and more wool until the centre is full.
Complete filling it up using a darning needle with a super large hole threated with the wool.
Now the tricky part! You have to cut the Wool between the two circles just like the photo below
Wind a piece of wool between the circles and tie it tight so it will hold all the cut wool together
Rip off the cardboard circles and do a little trimming to neaten it up and voila! You now have a Pom Pom!
Our Pom Pom was thrown around as a soft inside ball. Great entertainment for two active boys.
And when the fun of a new Pom Pom had worn off Maisy the dog found it on the lounge floor. She was loving it! Tossing it around like it was made just for her! If I hadn’t rescued it I imagine it would have been destroyed in no time!
All in all our Pom Pom making experience has been quite fun! G2 wanted to make another one straight away. He loved the idea of using a needle but I was happy with just one big Pom Pom for awhile. Perhaps we can make another the next wet day 🙂
Yesterday I drove to Palmerston North to pick up our Grandsons G2 and G4. I love having these boys to stay! You only have to look through a few of my previous blog posts and you will see photos of previous holidays and details of our adventures. I have made a few plans for these holidays but today, their first day here, it is a cold, wet and windy day. So it’s inside entertainment! G2 also has a cough cold and is probably better off staying indoors and keeping warm. So first thing was a game of minecraft on the Play Station 3, and then it was break time. The boys know that Nana Pam doesn’t like them spending too long in front of the television or a computer screen! So, out came the saucepan and a batch of playdough was made for the next form of entertainment…..and they loved it 🙂 If you haven’t made playdough before I suggest you give it a try. It is so easy!
Here is the the recipe….
Stir all together
1 cup of flour
1/2 cup of salt
1 cup water
1 tablespoon of oil
2 teaspoons of cream of tartar
and food colouring (any colour)
Then cook on medium heat, stirring all the time until the dough leaves the side of the pan. Tip it out onto tray and when it cools a little, knead it all together. And then the fun begins!
Here are some photos of the boys and their playdough creations…
Our lovely new, soft, green playdoughWho would like a slice of pizza?Shhhhh it’s a bird nest with a bird in it and her eggsG4 cutting up his playdough sausage for G2’s pizzaI can see….a snail!Our Master Chef!Preparing and planning the pizza toppings
Lots of fun to be had! Playdough play lasted for about an hour and I think that is a pretty good return for the time invested in making it. And, the best part of all is that if you store your Playdough in an airtight plastic bag or container, it will last for a month or even longer.
The sun has come out to shine this afternoon so maybe we can get out on the trampoline or the bikes! But if it’s wet again in the next few days, I am sure we will be able to get our green playdough out again….even if it’s only for another hour of play 🙂
Every morning I read ‘The Word For Toady’. It’s a devotional book that I receive every three months from Radio Rhema, New Zealand (RBG). For each day there is a scripture to read followed by a little message that explains the scripture a little further. The explanation is written by Bob and Debby Gass from UCB International.
Now I have been receiving these books for approximately 20 years! How do I remember to read it, you ask? Well, I have it sitting on a shelf in my toilet, and when I go to the toilet first thing in the morning, I read my ‘Word for today’. Too much information….you say… Well it works for me! Hehe 🙂
This morning is the 18th of April, and it is Good Friday here in New Zealand. The title for today’s reading is ‘You get another shot’, and the scripture for today is…
‘…”Lord, remember me when You come into Your Kingdom”…Jesus said… “Today you will be with Me in Paradise.”‘ Luke 23:42-43 NKJV
And the further reading today just touched my heart, and I want to share it with you.
Author Charles Swindoll writes: ‘If ever there was a deathbed conversion, that was it. The thief lived his entire life a sinner, a hoodlum…in no way did he prove himself worthy…so what had he done to receive eternal life? What did Jesus accept? Faith – simple, unadulterated, unproved faith in Christ. That’s all God requires and all we can offer. The snapshot of Jesus’ life the thief saw convinced him He was the Son of God.
Their dialogue teaches us three important truths: (1) No one is ever too far gone. Think of someone you’ve written off… ‘Oh, they’ll never come to know Christ. I’ve tried everything…he’s never going to respond’. When you’re tempted to think anyone is beyond the reach of grace, remember the criminal on the cross. (2) Your real message is your life. Socrates once called words ‘stupid things’. When your life draws the attention of lost people, you have sufficient proof to back up the words you use. When you let God do the work in their lives, and yours, you’ll be amazed how He brings the appropriate words. (3) All God requires and accepts is simple faith. If you’re working hard to earn your way into the Kingdom…you’re on the wrong path. Think about it – how many works will be enough? When salvation is by faith, all the work and all the glory are God’s.
Never doubt your acceptance into His family when you come His way. The thief didn’t doubt…He didn’t have to make any promises. He believed with all his heart, and was saved.’ You can be too!
You too can read the ‘Word for today’ everyday. I will put the link for todays message below and then you can read each days new message via the internet…..enjoy
While expecting the three new grandchildren to arrive this year, I decided to get back into some of my older craft activities. Amazingly, the Scrapbooking has been put aside until I’ve completed these baby gifts! But I will get back to it as there will be so many photos of each new grandchild to make pages with… I can’t wait!
I’ve now been sewing baby clothes, wraps and bibs and also had the knitting needles and crochet hooks out….and I’ve had fun! Nothing like a new baby to give you motivation.
So first to be born this year was G5 on the 4th of February. I made her a crotcheted blanket just like the one I had for my children when they were babies.
G5’s Blanket. I had to feature some pink!
And here is beautiful little G5 tucked up and sound asleep with her new blanket. Hopefully she will be able to keep her own ‘Nana made’ blanket for years 🙂
Doesn’t she look so peaceful
While I was making G5’s blanket I had another pink one on the go. With having two grand daughters arriving I needed/wanted to make one for each of them. The other blanket was quite different. Instead of crocheting in rounds I crocheted in rows of treble crochets.
Now…this is a much brighter pink!
I had fun making this blanket as it was in 12 ply and grew very fast. Trouble was it used heaps of wool up too and I ran out doing the edge! As it was such a bright blanket I decided to tone it down with a fancy white edging. This blanket is now in England waiting for grand baby girl to be born. And….I can’t wait to hear the news as it could be any day now 🙂
In the end I loved the white edging. It brings such a contrast and is quite lacy
Here is a close up of the lovely white lacy edge…
I think it is really pretty. I just hope her little fingers don’t get caught in it all the time.
So G5 was born in February and on the 10th of March I headed for Sydney to be there when Grandson G6 was born. I took a suitcase of wool with me to crotchet G6’s blanket with. I had 20 days! He arrived on the 18th of March, one day before his due date.
Waiting for G6’s day of birth. I’m crocheting and D1 is journalling
I started a pattern of so many rows of the blue/green wool and then two rows of white. The blanket ended up huge, as I had to complete the pattern…and I ended up having to race to ‘Spotlight’ to buy more wool. But in the end I was really happy with it…and I got it finished
It was big enough to cover the sofa! And this isn’t the finished size! I still had more rows of colour to do and also the white edge!
And because I had brought more wool I decided to use it all up and make a pillow to match…although the pattern was different as I had more white wool left than the coloured wood.
The finished blanket and pillow! I managed to make both of these in 20 days…so happy 🙂
I have a photo of G6 laying on his blanket in the previous post. Go and have a look at him…he is such a little cutie!
I enjoyed crocheting so much I have started another blanket. It’s so easy to just sit and crotchet while you are watching TV, or a movie, or even while you are talking. I feel like I’m being productive even while doing nothing.
Now isn’t that cute 🙂
I should really be using a bigger size crochet hook but I didn’t have mine with me when I started and I didn’t want to undo it and start again….so it is very tight crocheting and quite firm! I hope it’s going to be okay when it’s finished.
Now, when I was in Sydney I also finished off knitting a little blue cardy. I started it when D1 first found out she was pregnant….so it has definitely been a work in progress! Apart from sewing the buttons on, which I left for D1 to do (I didn’t have any and didn’t have time to shop for some), I got it finished! Phew!
Minus the buttons and a little bit of sewing up 🙂
So along with the knitting and crocheting, I have also been making myself a couple of dresses and some baby items as well. I forgot to take photos of the baby things apart from these two little dresses…
One for G5 and one for G7 🙂
I usually find it hard to make clothes for myself that fit okay once sewn up. I’m not very good at altering the pattern for my body shape! I usually sew it up as much as possible and then put it on inside out and pin the seams to fit better! I decided to buy a new pattern as see how it turned out by just cutting and sewing as the pattern said! This is the pattern…
This pattern is really easy to use! I was really happy with it 🙂
I purchased my material from ‘Spotlight’s’ 30% off sale. For one dress it cost $12! Now that’s a bargain. especially if you don’t count the value of my time taken to make the dress. I made it for me for free 🙂
This is the first one I made. Excuse the fact that my body has got wider through the middle as I have got older. I need to exercise more but I am too busy sitting down doing craft!
This dress has pockets at both sides. It has been cut and sewn just as the pattern said and fits me perfectly. You have no idea how happy this makes me feel. So happy that I had to make another dress!
This one I decided to make a contrast top on it like in the pattern 🙂
I just have one more dress cut out to sew up for me, and the crochet blanket to finish, and then I can spend some time creating with these beautiful fat quarter fabrics. They have been washed and are just sitting waiting for me to find some inspiration and spare time! Aren’t they fabulous!
Now what am I going to make????
I will be spending a wee bit of time on ‘Pinterest’ looking for ideas I think 🙂
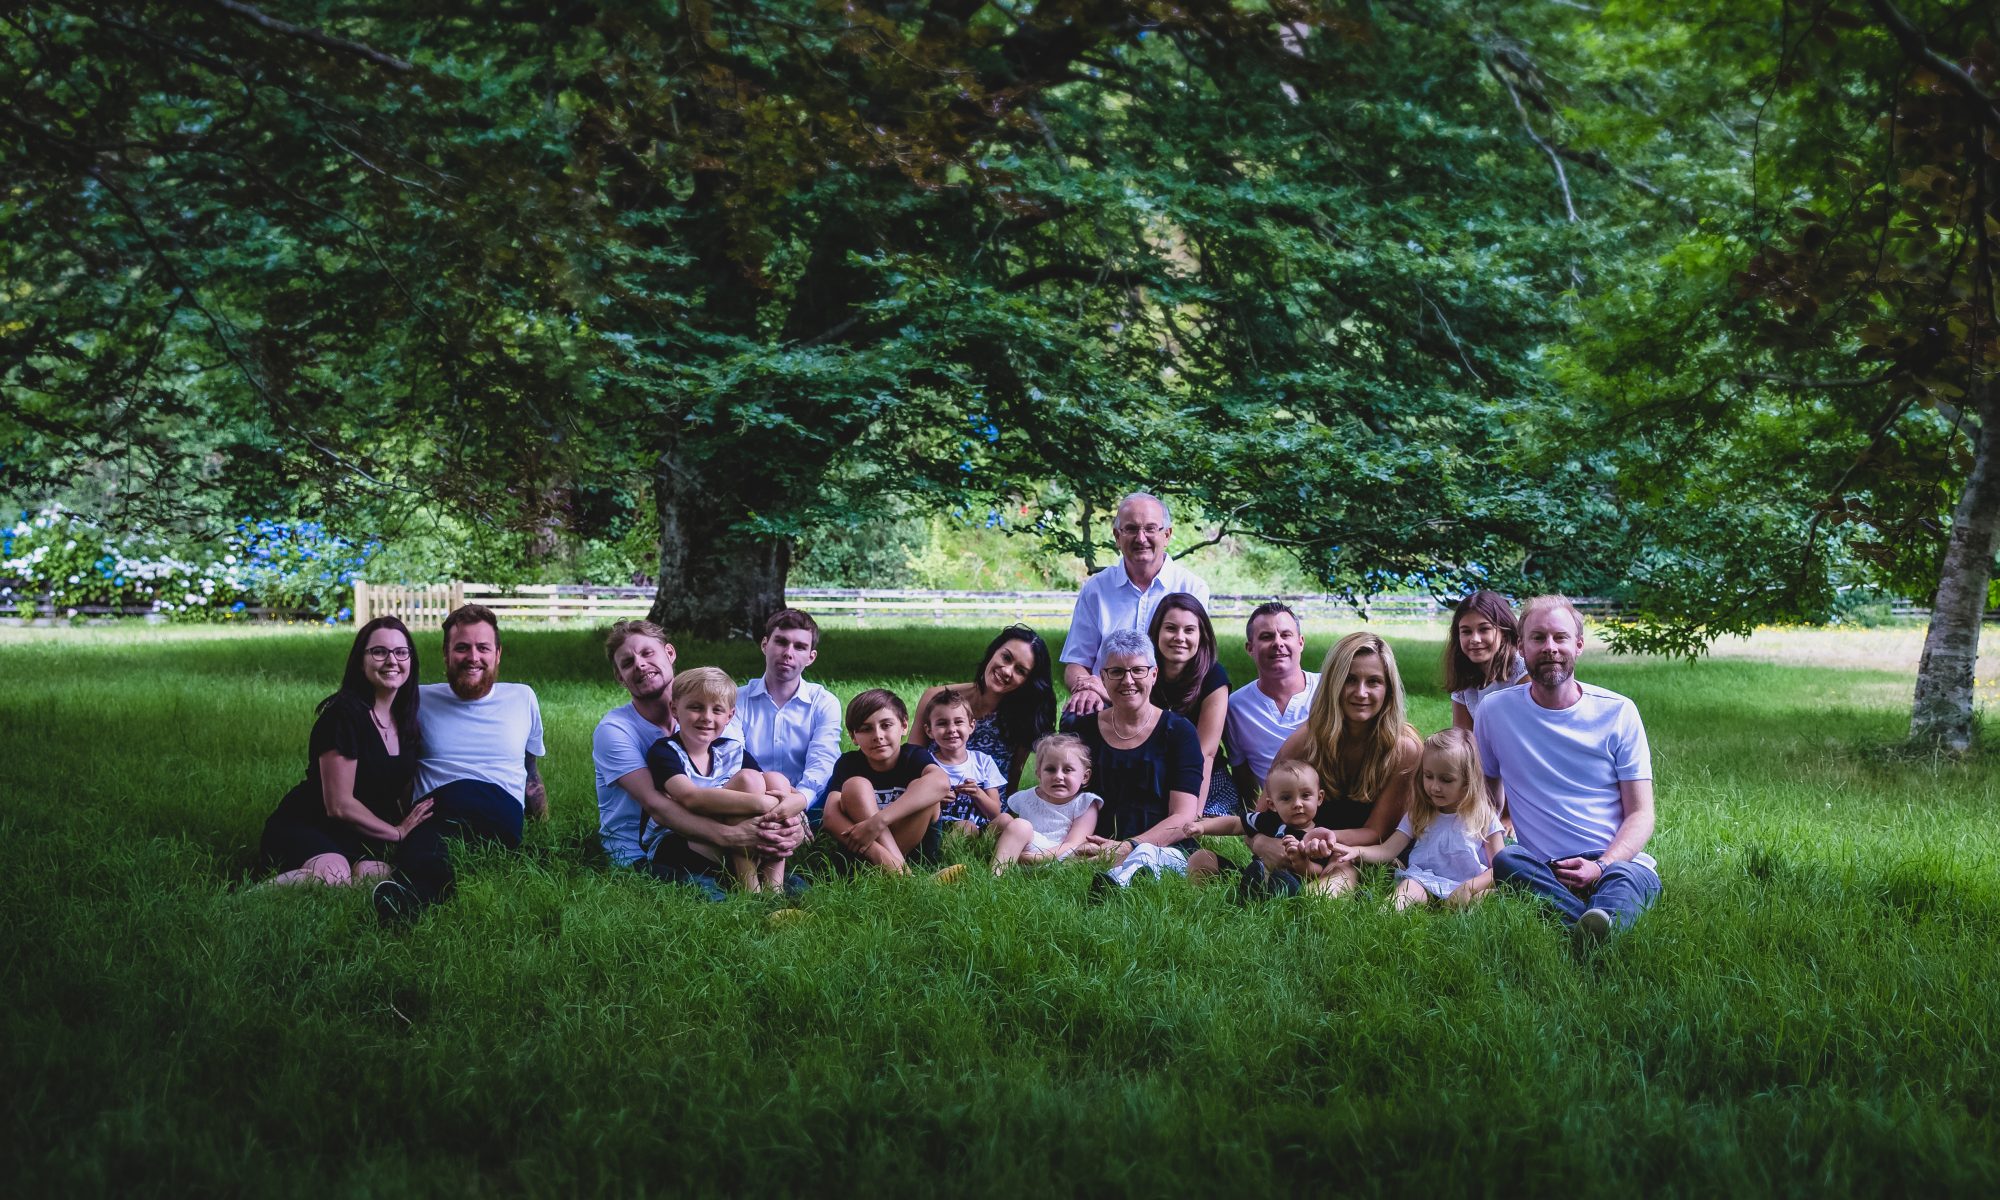
I love my Mum and Dad! They are 88 and 85 and still going strong. Strong in health, living and loving 🙂 What an amazing heritage we have because of them. They deserve to be honoured…and I do honour them 🙂
We have family tea together every Sunday night, missing out only occasionally. Here are some photos of our gathering last night. G2 and G4 are staying so they entertained themselves with clothes pegs….believe it or not!
me and my Mum…yes we do look alike 🙂What a lovely family group photo….love them all xxxC5 with her Nana and Grandad 🙂Me and my oldest daughter C5 who just turned 22….love her xxxMy Mum who is 85! – 86 in September. I come from good genes 🙂My Dad, he is 88 and a half!….he looks like the grandad in ‘UP’A lovely photo of G2…except for the peg..hahaG4 entertaining himself with the exercycleMy Mummy and My DaddyThe peg boys!!!
I should have taken more photos of everyone there, but I am so happy with these photos. They all show the LOVE we have for each other.
One day last week I picked G2 up after School and decided to give both him and G4 a treat. Now if you haven’t been to the Te Manawa Museum in Palmerston North, New Zealand…you MUST go! Especially if you have young children. The museum is filled with interactive displays and it is so much fun watching the children explore and learn while playing.
All the ground floor is free entry so that is also a bonus to visit there. The first area you go to is the interactive house. It has a kitchen, lounge, bedroom/reading/dressing up area, and outdoor area consisting of a clothes line and a tree hut!
But the most favourite area is the scariest. If you walk into the wardrobe and through the hanging clothes a door magically opens at the back….and you enter into a dark secret passage. The door quickly closes behind you and you are left to explore/find your way out, using all the senses minus sight! And believe me it’s a bit creepy. You hear mice scuttling and things are hanging from the ceiling…and you even have to climb a bit! If you are very brave you can feel your way to the very end and find yourself up in the tree hut. If you get a bit worried you can find the escape door and end up in the bedroom and take a rest on one of the beds…or maybe read a book…or try out the dress up clothes.
In one of the rooms you learn how to do some plumbing. If you join the pipes correctly the water will start to run through the pipes. You can also fill up a bath with water and then pull the plug…learning not to waste water!
But my favourite part is the the outdoor area where the children can construct a big wall with the soft bricks that are provided. Talk about great entertainment for boys! They love it….even if we go there every holidays…they still love it.
There are the usual museum features as well and we did explore some of those areas but the real treat is all the interactive components of the place. Have a look at the photos and see what you think…
These are not really part of the interactive area of the museum, but the boys love climbing on them. Great for photos too I think 🙂Te Manawa – G2 on WTe manawa – G4 on nA mat and block in the entrance area. These are changed to different things regularlyHere the boys are about to pull the wall apart so they can build it againThe block are loaded onto the ramp and then wound up to the top levelOr…the blocks can be loaded onto a pully and manouvered up and around to the wall areaG4 building the wall ever so carefully. You don’t want bricks falling down on you!Both boys hard at work!Nearly finished G4!G2 says ‘would you like soup or a coffee Nana Pam’? I answer ‘both please’He then brings me the cash register to pay for them!G4 looking down at me from the tree houseYou can enter through the tube that comes from the secret passageway, or by the stairs 🙂What do you find at different layers of the ground….look and see…I see bonesThese bricks aren’t heavy Nan Pam!Reaching up to the top of the wall 🙂Boys LOVE using these things…just like big men!It’s the last block in the wall! Yay…done 🙂We fill the bath and then empty it…looking at how much water we use at the different levels!tic tac toe with pillows on the floor! What a cool idea 🙂you throw the balls up on the top of the cloud, pull the wire and the balls fall from the cloud like rain! How great is that?learning about pipes!I LOOOVVVEE this cute little caravan!Yes it’s an old tractor!The Maori history part of the museum 🙂Through the wardrobe and what do you find??????
Today I am suppose to be packing up and driving to Palmerston North. I will! But a bit later. I HAVE to share these photos from our adventures in the Maize Maze.
The boys had been staying with us for the weekend, hence the reason I have to drive to Palmerston North today, I have to take them home….anyway… yesterday, we decided to go to the Maize maze. We had been passed the place a few times, in fact every time I took the boys either to their home or to our place. And because it is well sign posted and Jayden can read, it has been the most asked for location to visit….and it was worth the visit.
Yesterday was such a beautiful day. Not a cloud in the sky! We started off with a fabulous church service, lunch at home (corn on the cobb would you believe), and then we were off to the Maize Maze.
Two very excited boys!See Nana Pam…here is a sign behind us!Yes there we are! We had so much fun 🙂Found a bit of shade to cool down a bit. Luckily Grandad brought a bottle of drink! Phew!Which way do we go?????Stop G4! photo time 🙂Looking for the signs which are hidden in the maze. We had a worksheet to fill in and we HAD to find them all!All smiles at the beginning!The entrance to the Maze…and there are 2 paddocks to exploreHaving a swing while Nana and Grandad pay to explore the MazeG4 at the tyre maze…just beside the maize maze!Mount Egmont (Taranaki) without any snow! Our view as we travelled to the Maize maze 🙂
So as you can see it was a GREAT day. We all had so much fun, and finished the fun off with a swim in our pool as soon as we got home. These kind of days are the days that we will remember forever!